

Spin Basket Instructions
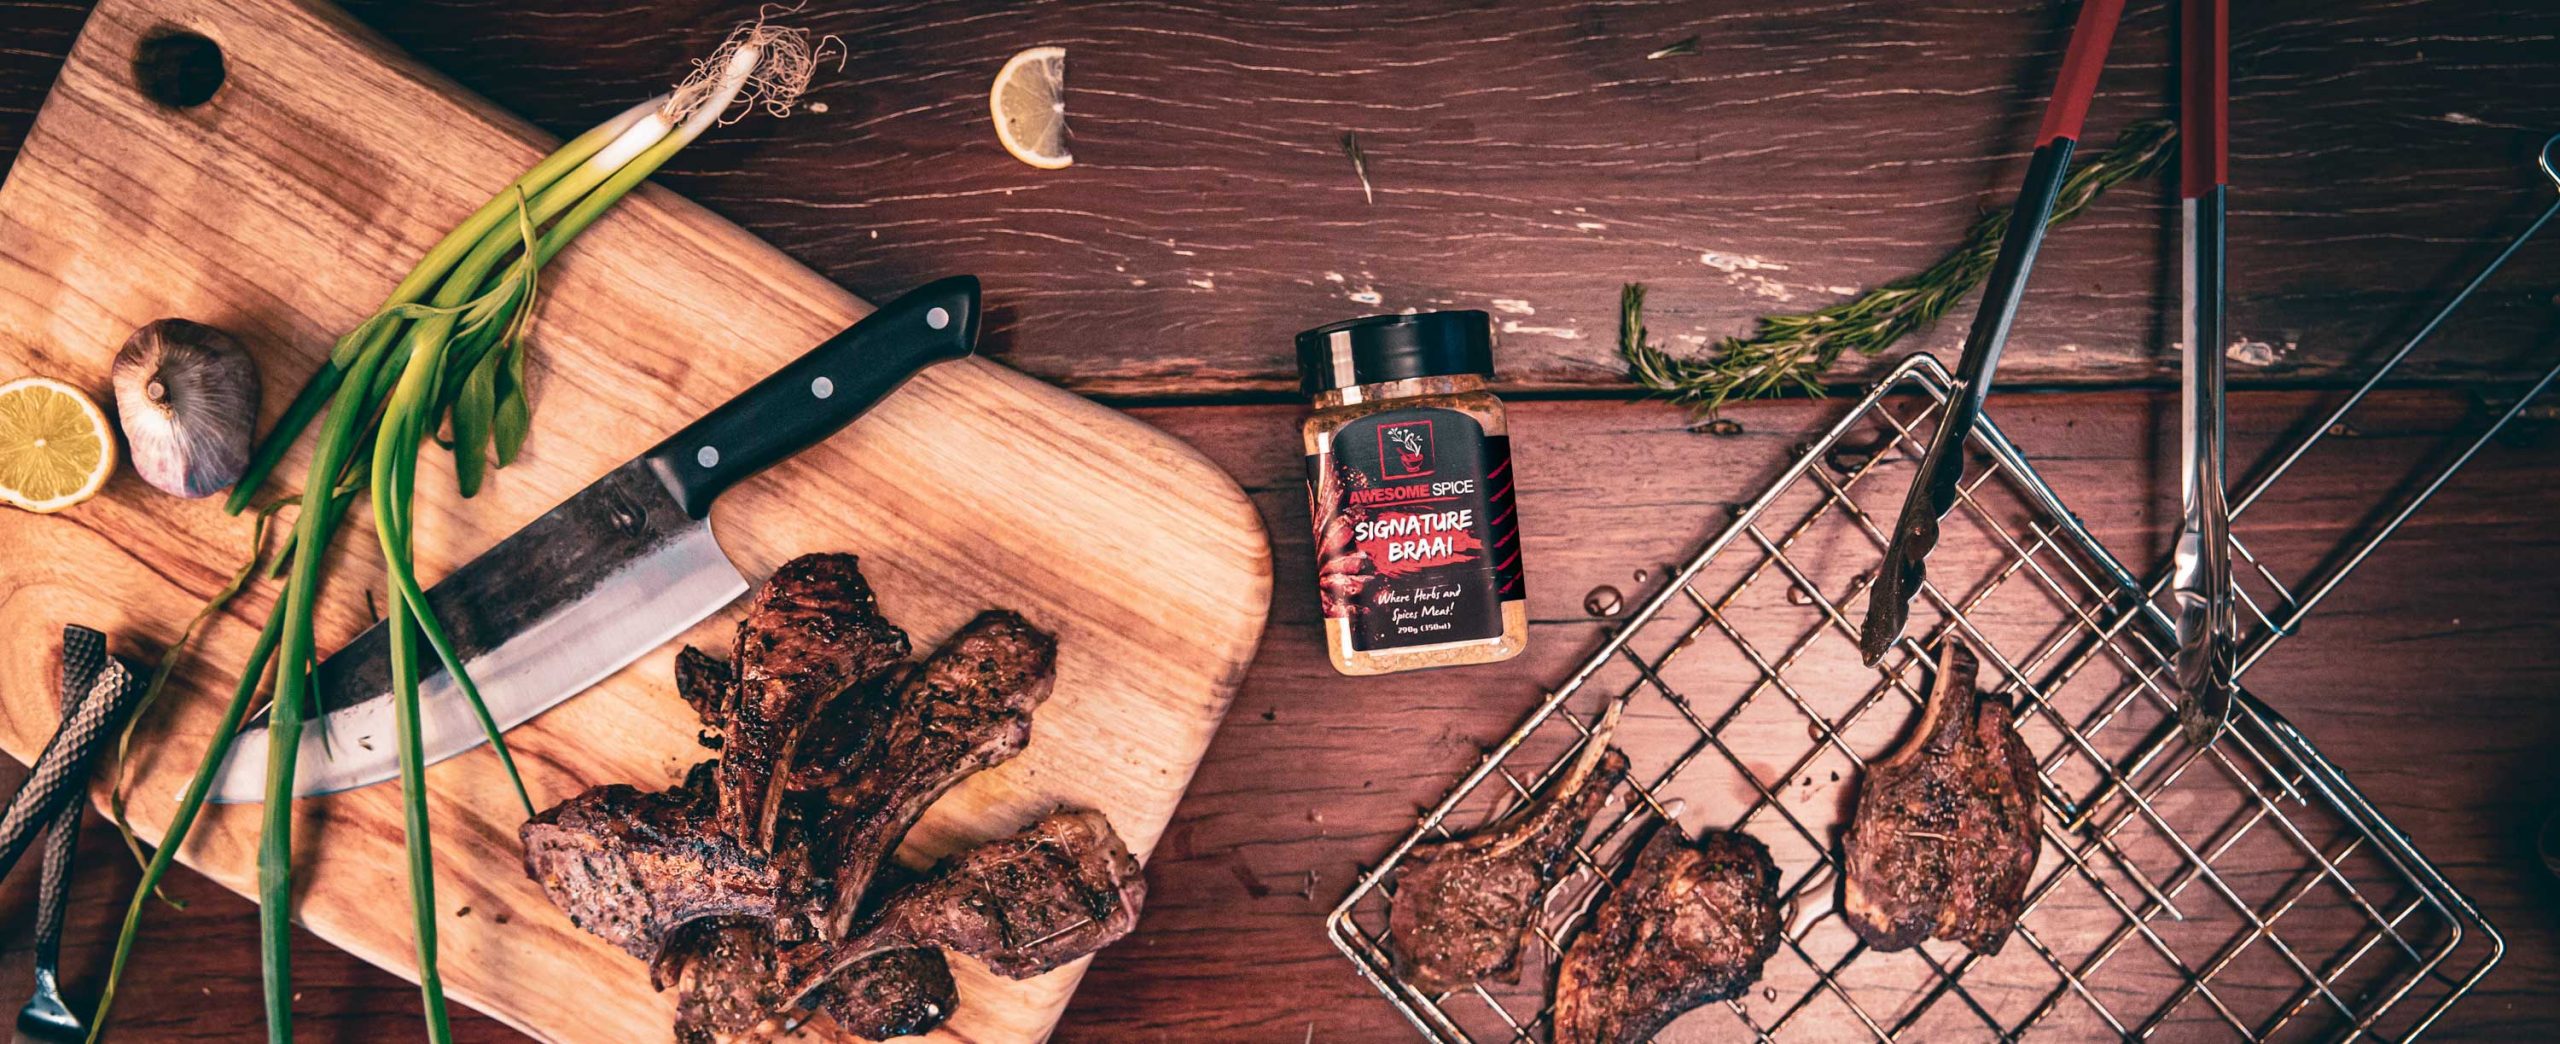
Thank you for purchasing the OZ Braai Spin Basket, the ultimate accessory designed to enhance your outdoor grilling experience. This guide provides step-by-step instructions to help you assemble and use your Spin Basket effectively, ensuring you get the most out of its versatile features.
The Spin Basket is engineered with adaptability in mind, equipped with a comprehensive set of adaptors and connectors. These components ensure compatibility with the Patio, Compact, and Mini Braai models, as well as a wide range of other BBQ configurations. The Spin Basket is a 2-in-1 accessory that can be used as a spin basket on the rotisserie or as a manual Braai/BBQ basket using the clip-on handle. Whether you’re using it for manual flipping or with a rotisserie motor, this guide will walk you through the process, making assembly and usage straightforward and hassle-free.
Follow these instructions to set up your Spin Basket and start enjoying perfectly cooked meals with ease.
Please note that the video below is featuring our first sample and does not represent the final released product.
Instructions can be found below the video.
Assembly Instructions for the OZ Braai Spin Basket
- Spin Basket (35cm x 21cm x 5cm)
- Ergonomic Clip-on Handle
- Set of Adaptors (Rods), Connectors and Nuts
- Canvas Carry Bag
Setting Up the Spin Basket with the Compact Braai
Setting it up with the Compact Braai is straightforward. We suggest preparing your basket before adding food. This will make it easier to ensure the basket assembly is configured correctly before attaching it to your Compact Braai.
-
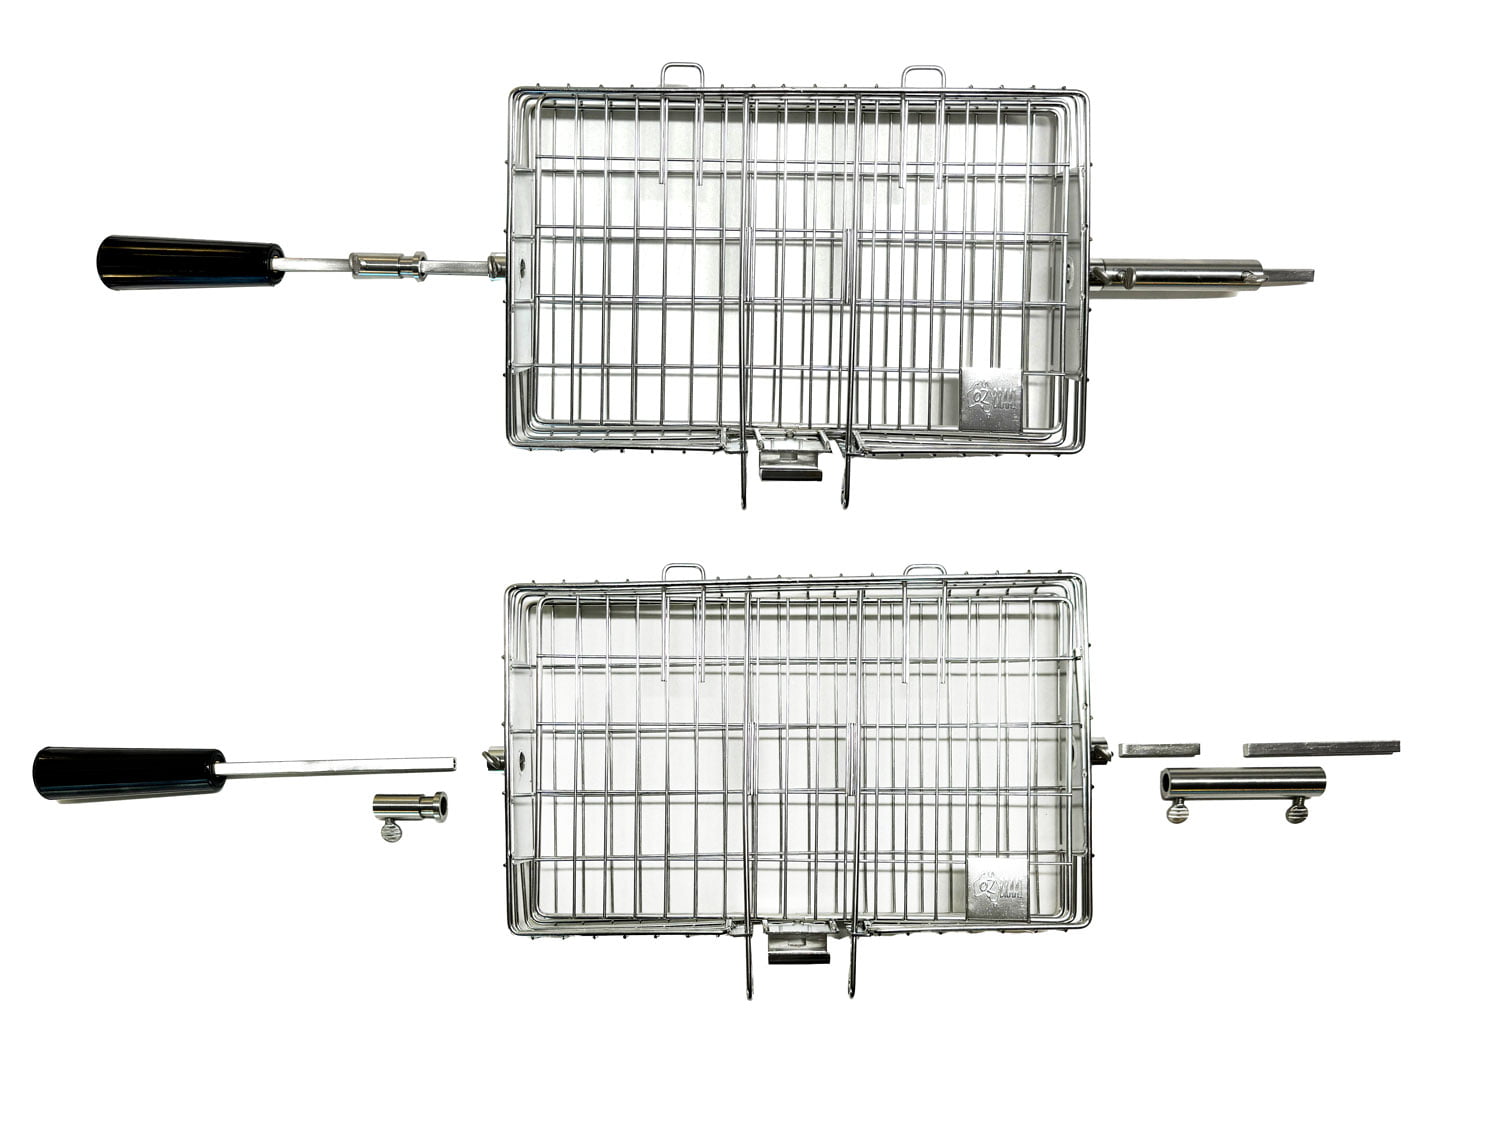
Attach the Handle:
- Attach the black handle to the handle rod.
- Slide the spin bracket over the handle rod, but do not fasten it yet. You will need to move the spin bracket into position once you add the basket to the Compact Braai when attaching it to the motor.
-
Prepare the Basket:
- Insert the handle rod into the basket ring and fasten the nut.
- On the opposite side, insert the short rod (5cm) into the basket ring and fasten the nut.
- Slide the round connector with the two nuts over the short rod and fasten the nut.
- Insert the long rod (10cm) into the round connector at the end and fasten the nuts. Depending on your Compact Braai bracket setup, you might need to adjust the long rod to correctly attach to the motor.
-
Add Food and Secure the Lid:
- Now add your food to the basket.
- Clamp the lid into the desired position to keep your food in place.
By following these steps, you’ll have your Spin Basket properly configured and ready to use with your Compact Braai.
Setting Up the Spin Basket with the Mini Braai
Setting it up with the Mini Braai is straightforward. We suggest preparing your basket before adding food. This will make it easier to ensure the basket assembly is configured correctly before attaching it to your Mini Braai.
-
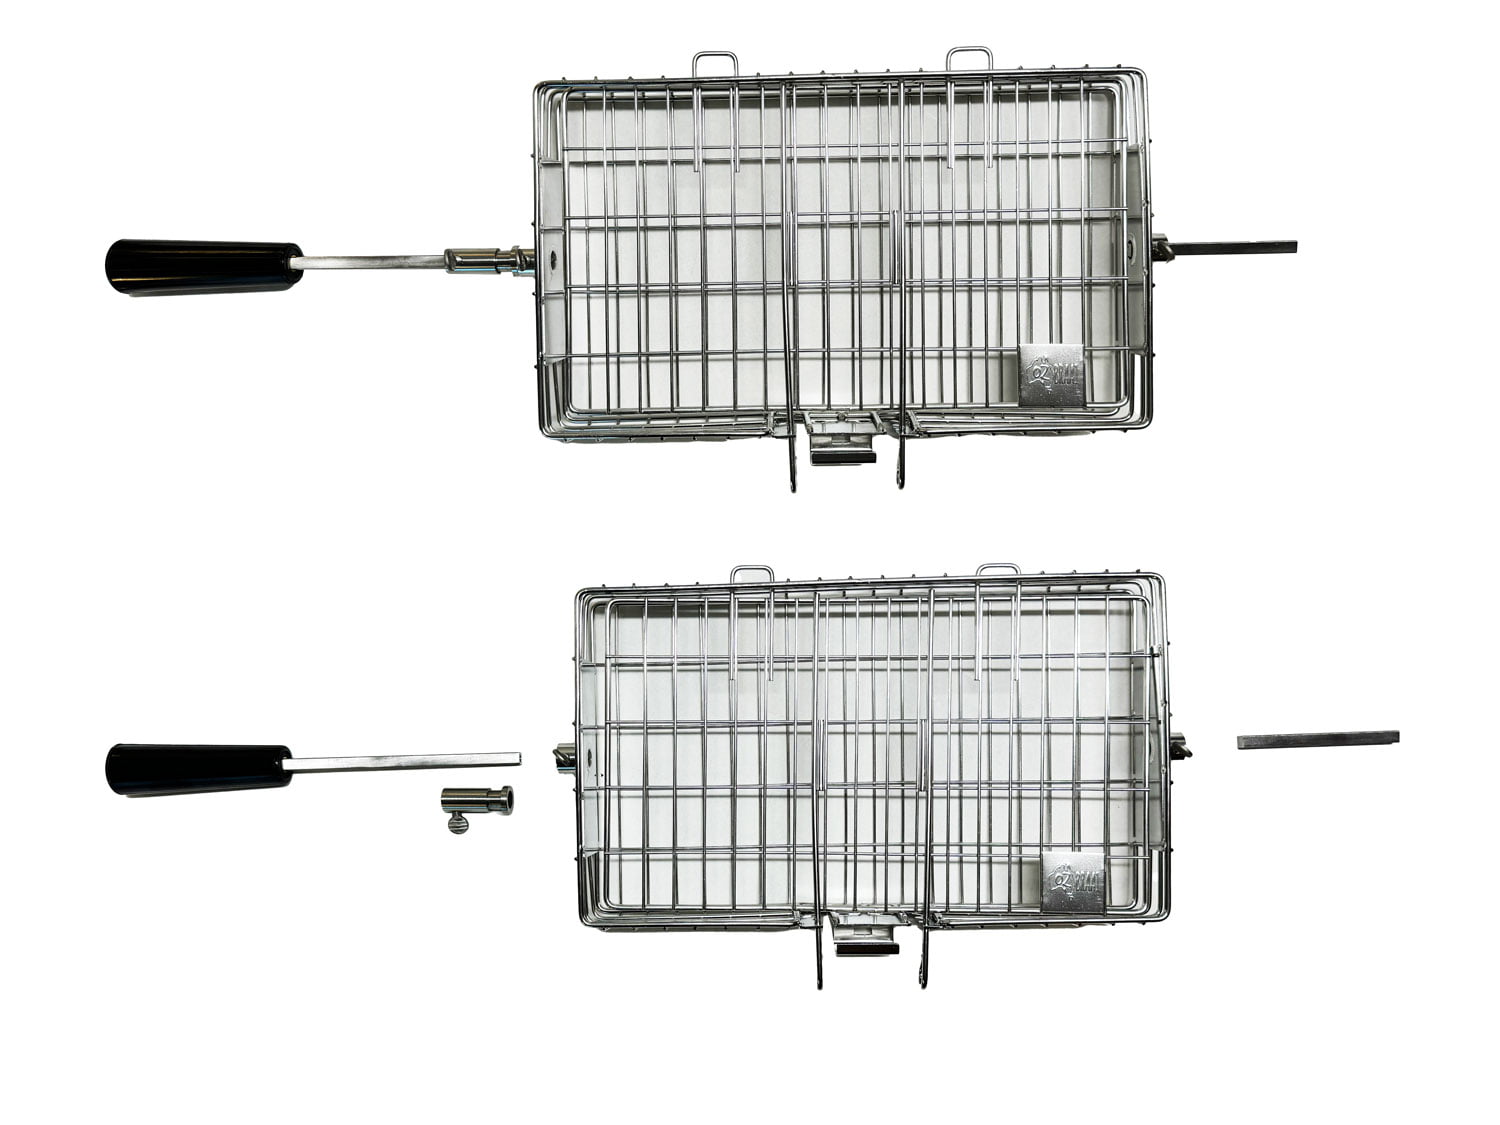
Attach the Handle:
- Attach the black handle to the handle rod.
- Slide the spin bracket over the handle rod, but do not fasten it yet. You will need to move the spin bracket into position once you add the basket to the Mini Braai when attaching it to the motor.
-
Prepare the Basket:
- Insert the handle rod into the basket ring and fasten the nut.
- On the opposite side, insert the long rod (10cm) into the basket ring and fasten the nut.
- Depending on your Mini Braai bracket setup, you might need to adjust the long rod to correctly attach to the motor.
-
Add Food and Secure the Lid:
- Now add your food to the basket.
- Clamp the lid into the desired position to keep your food in place.
By following these steps, you’ll have your Spin Basket properly configured and ready to use with your Mini Braai.
Setting Up the Spin Basket with the Patio Braai
Setting it up with the Patio Braai is straightforward. We suggest preparing your basket before adding food. This will make it easier to ensure the basket assembly is configured correctly before attaching it to your Patio Braai.
-
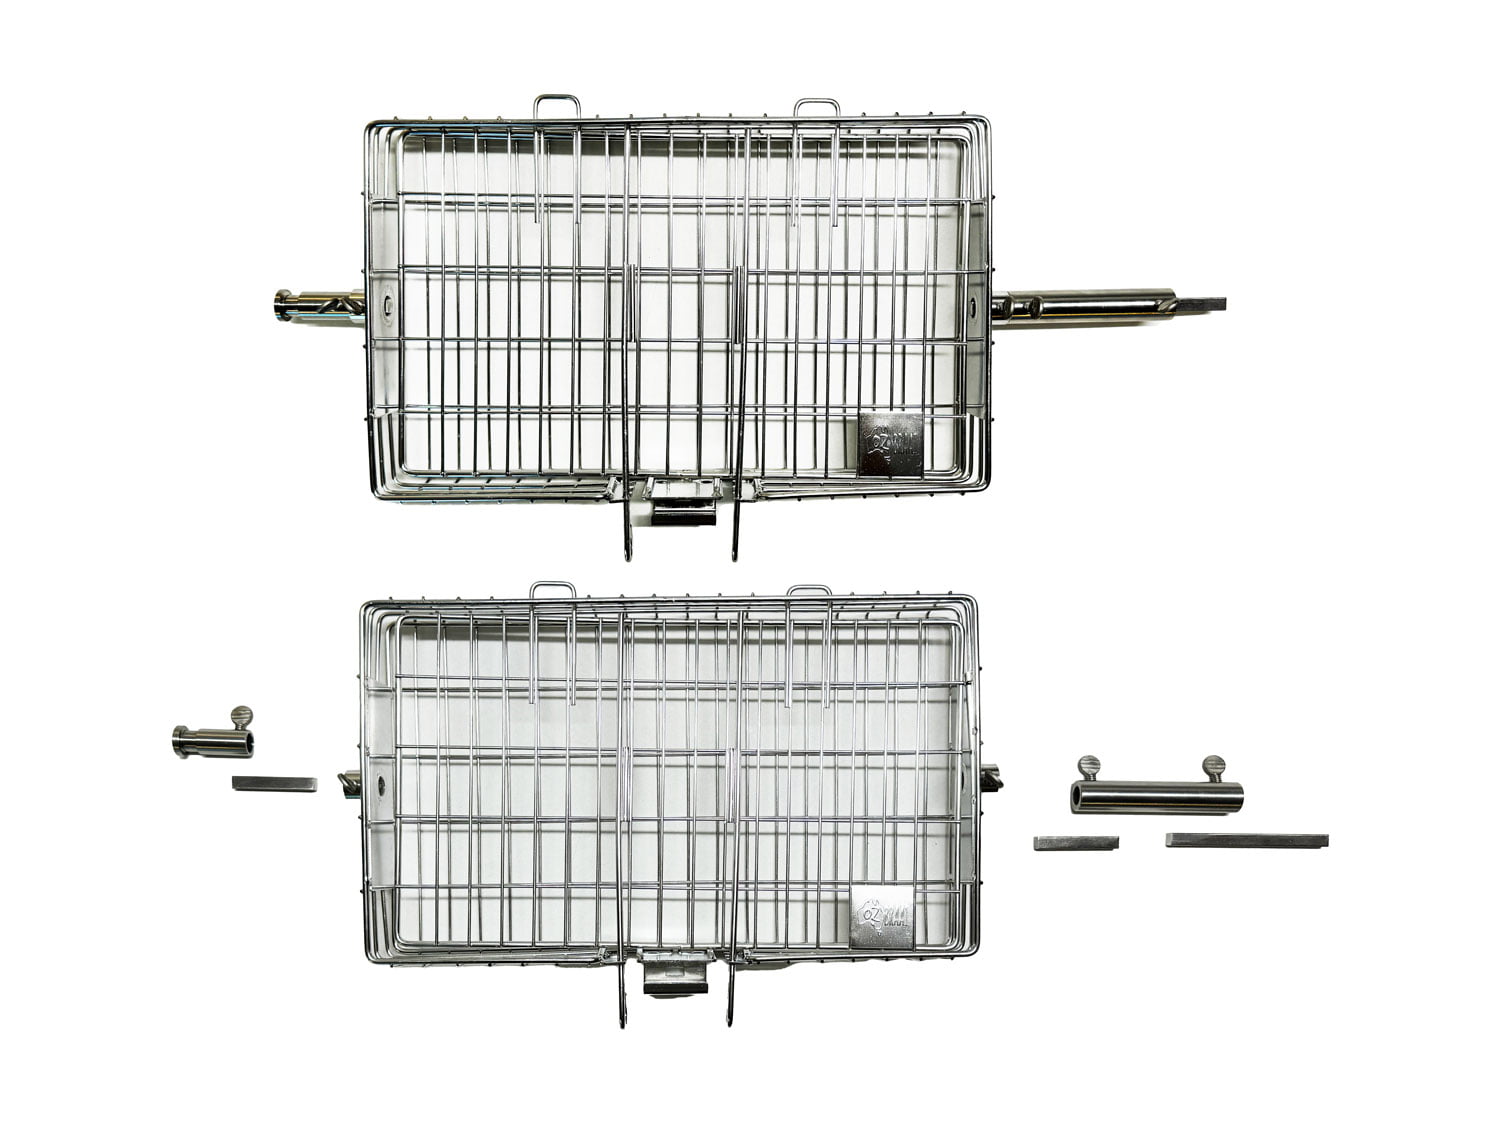
Prepare the Basket:
- Insert the short rod (5cm) into the ring of the basket.
- Slide the spin bracket over the rod and fasten the nut.
- On the opposite side, insert another short rod (5cm) into the basket ring and fasten the nut.
- Slide the round connector with the two nuts over the short rod and fasten the nut.
- Insert the long rod (10cm) into the round connector at the end and fasten the nuts.
- You will need to adjust the long rod to correctly attach to the motor and fasten the nut.
-
Add Food and Secure the Lid:
- Now add your food to the basket.
- Clamp the lid into the desired position to keep your food in place.
By following these steps, you’ll have your Spin Basket properly configured and ready to use with your Patio Braai.
We’ve included additional adapters and rods to ensure that you can attach the Spin Basket to a wide variety of existing setups and configurations. While there are numerous configurations and grill models available, making it impractical for us to test every possible setup, we are confident that you will be able to integrate the Spin Basket seamlessly with your current rotisserie system.
Our goal is to provide you with a versatile and adaptable accessory that enhances your grilling experience, regardless of the equipment you already own. The included adapters and rods are designed to offer flexibility, allowing you to experiment with different configurations and find the perfect setup for your needs.
Tips for Custom Configurations:
1.Experiment with Adapters and Rods:
•Use the various adapters and rods provided to find the best fit for your specific grill or rotisserie setup. The flexibility of the Spin Basket means it can be adjusted to work with different heights, widths, and mounting points.
2.Secure Attachments:
•Ensure all connections are secure before starting your grill. Double-check that all rods, brackets, and connectors are tightly fastened to prevent any movement during cooking.
Experiment with Adapters and Rods:
Use the various adapters and rods provided to find the best fit for your specific grill or rotisserie setup. The flexibility of the Spin Basket means it can be adjusted to work with different heights, widths, and mounting points.
Secure Attachments:
Ensure all connections are secure before starting your grill. Double-check that all rods, brackets, and connectors are tightly fastened to prevent any movement during cooking.
Balance the Basket:
Properly balance the Spin Basket to ensure even cooking. An imbalanced basket can result in uneven heat distribution and suboptimal cooking results.
Regular Fastening and Checking:
The nuts may come loose when heated as the stainless steel expands. Regular fastening or checking is required. Use pliers to give them a good fasten before use, and check during use to ensure they remain secure. You do not want the basket to come loose during cooking.
Adjust as Needed:
Don’t be afraid to make adjustments as you go. The versatility of the Spin Basket allows for modifications to achieve the best performance with your specific setup.
Safety First:
It is recommended to use heat-resistant gloves, such as heat gloves or welding gloves, when adding the basket to a braai or BBQ that already has hot coals. This will help protect your hands from burns and ensure safe handling of the equipment.
By following these tips and utilising the provided adapters and rods, you can confidently incorporate the OZ Braai Spin Basket into your grilling setup, creating a more versatile and enjoyable outdoor cooking experience.